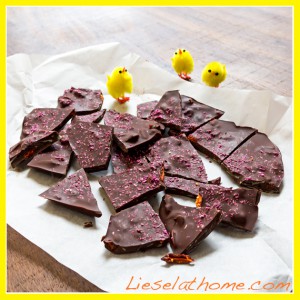
As I have mentioned before, this year I will re-post a few recipes I have already done before – but make them better. The same goes for this home made luxury chocolate. After having done my last recipe a few times I started reading up on how to properly melt chocolate. As weird as that sounds – it actually makes a big difference. So here: a new way of doing this with easy step by step instructions. How fitting not that it is Easter!
Step one is to buy a good quality dark chocolate. I personally just love Naturatas 80% dark chocolate available here in Luxembourg in our local organic shop. Also get something to sprinkle in the chocolate. I picked dried goji berries, almond slices and pink shredded coconut.
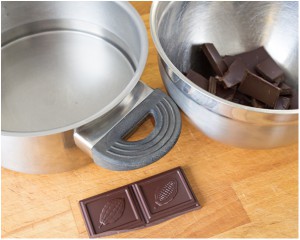
Get out a small pot, a bowl small enough to fit into that pot (metal bowl works best) and boil some water.
The first step is to pour a little boiled water into the pan – see picture – then break most but not all of the chocolate into pieces and place them in the bowl. I break 8 out of 10 pieces – 80 gram – and leave the other 20 gram on the side for now.
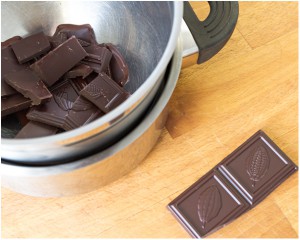
Place the bowl with the chocolate in the pot with the hot but not any more boiling water. Watch it melt and stir occasionally using a normal spoon.
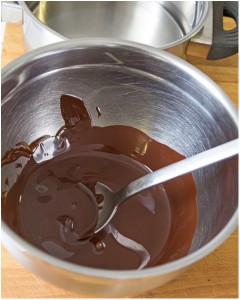
Wait until all the chocolate in the bowl has melted completely. Then take the bowl out of the pot and add the last pieces of the chocolate.
With the bowl out of the hot water pot, keep stirring until the last pieces of chocolate has melted completely.
Once melted, add some “fillings” like nuts, dried fruit, dried berries, dried coconut. My kids love to add raisins and dried apple as well as chopped nuts. I love dried goji berries and almond slices.
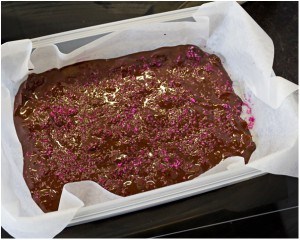
Then pour it all into a form lined with parchment paper.
Possible sprinkle with some last nuts or coconut. I love the pink shredded coconut!
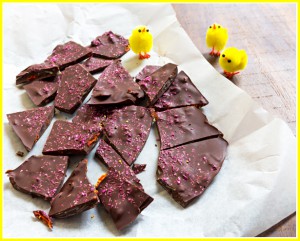
Place in the fridge or the freezer until hard. Break apart and eat!
Now the reason for adding the last pieces of chocolate later is way to complicated for me to really grasp but it has something to do with melting temperatures. The difference it makes is that your end result goes back to “hard” again even outside of the fridge. I love chocolate when it is really icy cold so I still keep it in the fridge – but at least this way the chocolate does not melt as fast in my hands.
Enjoy!
Liesel
